Orbit Water Timer Instruction Manual: A Comprehensive Guide
Welcome! This manual details installation, programming, and troubleshooting for your Orbit timer, ensuring efficient garden watering and years of reliable performance.
Orbit Water Timers represent a commitment to simplifying lawn and garden irrigation. Designed for both residential and light commercial use, these timers transform a standard faucet into a programmable watering system. Whether you’re automating drip irrigation or traditional sprinklers, Orbit offers solutions for diverse watering needs.
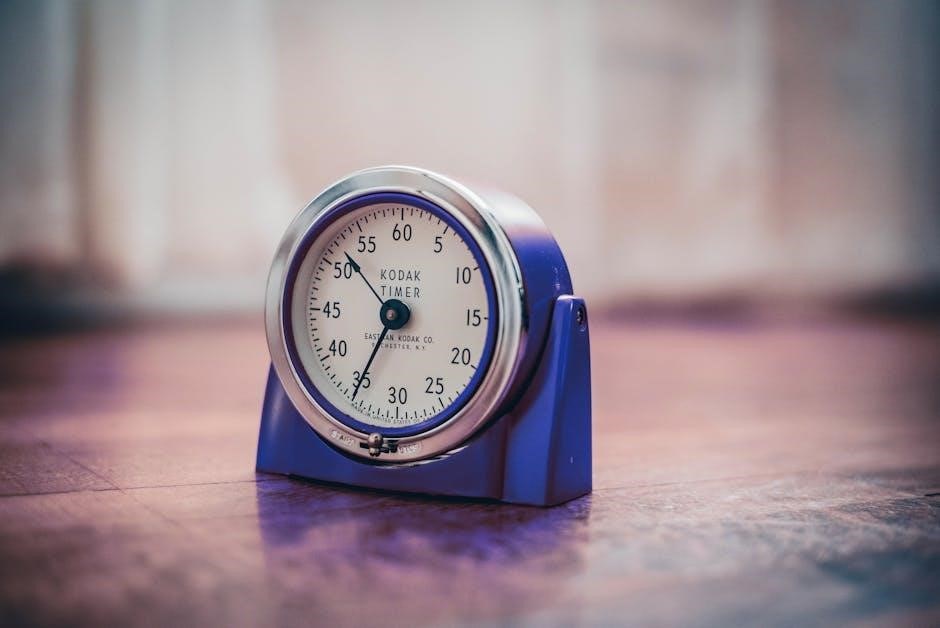
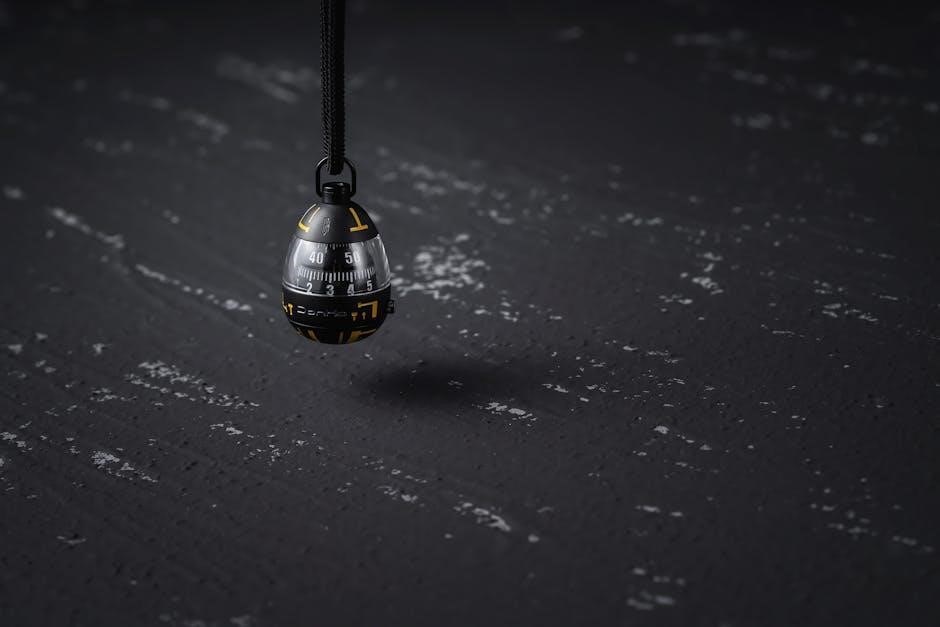
From basic mechanical timers – resembling an egg timer for quick setup – to advanced digital models with multiple zones and smart features, Orbit caters to all levels of gardening expertise. These timers help conserve water, promote healthy plant growth, and free you from the daily task of manual watering. Selecting a quality Orbit timer guarantees years of satisfactory service with proper installation and care.
Understanding Key Features & Certifications
Orbit Water Timers boast several key features, including programmable watering durations, multiple start times per day (up to three), and convenient rain delay functions. Advanced models offer seasonal adjustment, allowing percentage-based watering modifications. Many timers support automatic watering mode for hands-free operation.
Safety and Compliance are paramount. Orbit timers are rigorously tested and certified. They meet the UL-50 standard and are ETL listed, ensuring product safety. International models carry CSA and CE approvals. This Class B digital apparatus complies with Canadian ICES-003 standards. The disconnection type is Type 1Y for normal pollution situations, guaranteeing reliable performance and adherence to industry regulations.
Safety Precautions & Warnings
Important Safety Instructions: To prevent electrical shock and ensure safe operation, always disconnect the power supply before servicing. This control’s supply cord should only be replaced by the manufacturer or a qualified service agent. Use only with three 1.5-volt (AA) alkaline batteries – other battery types may cause damage or leakage.
Water Safety: Avoid submerging the timer in water. Inspect connections regularly for leaks. Do not use the timer with non-potable water sources. Ensure the timer is properly mounted to prevent accidental damage or disconnection. This device is intended for outdoor use only. Keep out of reach of children. Failure to follow these precautions may void the warranty.

Installation & Setup
Begin installation by securely mounting the timer near a faucet, ensuring easy access for programming and battery replacement for optimal performance.
Mounting the Timer – Location Considerations
Optimal placement is crucial for your Orbit timer’s longevity and ease of use. Select a location close to an outdoor faucet and electrical outlet (if applicable for certain models). Ensure the timer is shielded from direct sunlight and extreme weather conditions to prevent damage.
Mount the timer securely to a wall or post using appropriate screws – these are often not included. Avoid locations prone to freezing temperatures, as this can cause internal components to crack. Consider proximity to your irrigation valves for simplified wiring if using a multi-zone system.
The mounting location should also allow for easy access to the timer’s display and buttons for programming adjustments. A stable, level surface is recommended for accurate operation.
Connecting to the Faucet – Ensuring a Secure Fit
Proper connection to your outdoor faucet is paramount to prevent leaks and ensure reliable operation. Begin by thoroughly cleaning the faucet threads to remove any debris or old sealant. Hand-tighten the timer onto the faucet, ensuring a snug fit.
Avoid using excessive force, as this can damage the timer’s threads or the faucet itself. For a watertight seal, consider applying Teflon tape to the faucet threads before attaching the timer. Regularly inspect the connection for drips or leaks, especially after initial installation.
If leaks persist, carefully tighten the connection further or reapply Teflon tape. Ensure the timer is connected to a standard outdoor faucet with compatible threading.
Battery Installation – Recommended Battery Type (AA Alkaline)
Powering your Orbit timer requires proper battery installation. Locate the battery compartment, typically on the timer’s face or side, and open it according to the manual’s instructions. The recommended battery type is AA Alkaline – using other battery types may affect performance or damage the timer.
Insert three 1.5-volt AA Alkaline batteries, observing the correct polarity (+ and -) as indicated inside the compartment. Ensure the batteries are securely seated and making good contact. Close the battery compartment tightly to protect against moisture and debris.
Low batteries can cause inaccurate timing or timer failure; replace them annually or when the low battery indicator appears.

Programming the Timer
Set your watering schedule easily! Input the current time and date, then define watering duration, start times, and utilize the convenient rain delay function.
Setting the Current Time & Date
Accurate time and date settings are crucial for your Orbit timer to function correctly. Begin by locating the “Set Time” or similar button on your model – consult the specific timer’s face for details. Use the up and down arrows (or corresponding buttons) to adjust the hour. Confirm your selection by pressing the “Next” or “Enter” button.
Repeat this process for setting the minutes. Next, navigate to the date setting function. Again, utilize the adjustment buttons to set the month, day, and year in the correct order. Ensure you’ve selected AM or PM appropriately for the time.
Finally, confirm all settings. A properly set time and date will ensure your programmed watering schedules activate at the desired times.
Programming Watering Duration – Multiple Zones
Orbit timers often support multiple zones, allowing customized watering for different garden areas. To program duration, first select the zone you wish to configure – typically numbered 1, 2, or 3. Access the “Program” or “Set” menu and choose the zone.
Next, input the desired watering duration for that zone, usually in minutes (e.g., 15, 30, 60). Some models allow durations up to several hours. Repeat this process for each zone, tailoring the watering time to the specific needs of the plants in that area.
Remember to save each zone’s settings before moving on. This ensures each zone receives the correct amount of water according to your landscaping requirements.
Setting Start Times – Up to Three Times Per Day
Orbit timers offer flexibility with up to three independent start times daily, ideal for varying watering needs. To set a start time, navigate to the “Program” or “Set” menu and select the desired zone. Then, access the “Start Time” option.
Enter the first start time using the hour and minute buttons. Repeat this process to add a second and third start time, if needed. Consider plant types and sun exposure when choosing start times – early morning is often best.
Ensure each start time is saved. Some models allow you to specify which days of the week each start time should be active, providing even greater control over your watering schedule.
Utilizing the Rain Delay Function
Conserve water and prevent overwatering with the Orbit timer’s Rain Delay feature. This temporarily suspends your programmed watering schedule, accounting for natural rainfall. Access the Rain Delay function through the timer’s menu – typically labeled “Rain Delay” or “Hold.”
You’ll be prompted to enter the duration of the delay, often in increments of hours or days. Common settings range from 24 hours to several days. Once activated, the timer will pause all scheduled watering until the delay period expires.
Remember to deactivate the Rain Delay manually once the weather clears to resume normal operation. This ensures your garden receives adequate hydration when needed.

Advanced Features & Settings
Explore customization! Adjust watering percentages seasonally, manually override schedules for immediate use, and leverage automatic mode for hands-free operation.

Seasonal Adjustment – Percentage-Based Watering
Optimize water usage with Seasonal Adjustment! This feature allows you to fine-tune your watering schedule based on changing weather conditions throughout the year. Instead of completely reprogramming, simply adjust the overall watering duration as a percentage.
For example, during hotter summer months, you might increase the percentage to 120%, delivering 20% more water. Conversely, in cooler, wetter seasons, reduce the percentage to 80% to conserve water. This percentage-based adjustment applies to all programmed zones, providing a uniform modification to your entire watering schedule.
Access this setting through the timer’s menu, and experiment to find the optimal percentage for your specific climate and plant needs. Regularly monitoring your landscape will help you refine these adjustments for maximum efficiency.
Manual Override – For Immediate Watering
Need to water now, regardless of the schedule? The Manual Override function provides instant control. This feature allows you to activate any zone immediately, bypassing the programmed start times. It’s perfect for addressing unexpected dry spells or providing extra hydration to specific areas of your garden.
To initiate a manual watering cycle, simply select the desired zone and activate the override mode through the timer’s interface. The zone will water for the duration specified in its programmed schedule.
Remember that the Manual Override is temporary; the timer will automatically revert to its regular programmed schedule after the cycle completes. This ensures consistent, automated watering without permanent disruption.
Understanding Automatic Watering Mode
Automatic Watering Mode is the core function of your Orbit timer, enabling hands-free, scheduled irrigation. Once programmed with your desired start times, durations, and watering days, the timer will operate independently, activating zones according to your settings. This mode eliminates the need for manual faucet adjustments, conserving water and ensuring your landscape receives consistent hydration.
Selecting Automatic Mode typically involves navigating the timer’s menu and confirming the active schedule. The timer will then monitor the current time and date, initiating watering cycles as programmed.
Ensure your schedule is accurate before activating Automatic Mode to avoid over or under-watering. This mode is ideal for maintaining a healthy garden with minimal effort.
Troubleshooting Common Issues
Facing problems? This section provides solutions for typical issues like the timer not turning on, water leaks, or a program failing to run correctly.
Timer Not Turning On – Battery Check
Initial Assessment: If your Orbit timer fails to power on, the first and most common step is to verify the battery installation. Ensure batteries are present, correctly oriented (positive and negative terminals aligned), and have sufficient charge.
Recommended Battery Type: Orbit timers are specifically designed for use with 1.5-volt AA alkaline batteries. Avoid using rechargeable or mixed battery types, as this can lead to inconsistent performance or damage the timer.
Battery Replacement: Replace all batteries simultaneously with fresh ones, even if only one appears depleted. This ensures consistent power delivery. After replacement, attempt to power on the timer again. If the issue persists, proceed to further troubleshooting steps, checking for potential wiring issues or internal component failure.
Water Leaks – Connection Inspection
Identifying the Source: If you observe water leaking from your Orbit timer, a thorough inspection of all connections is crucial. Begin by examining the faucet connection, ensuring it’s tightly secured and the washer is properly seated.
Hose Connections: Next, check the connection point where the hose attaches to the timer. Verify that the hose is firmly connected and that there are no cracks or damage to the hose itself. A loose connection or damaged hose can easily cause leaks.
Timer Body: Inspect the timer body for any visible cracks or damage. If leaks persist after tightening connections and checking the hose, the timer may require replacement. Ensure proper sealing to prevent water waste and potential damage.
Program Not Running – Schedule Verification
Confirming Active Program: If your Orbit timer isn’t initiating the watering schedule, the first step is to verify the program is actually active. Ensure the timer isn’t in ‘Manual’ mode, overriding the programmed settings. Check the current time and date are correctly set, as inaccurate timing will prevent schedules from running.
Start Time & Duration: Double-check the programmed start times and watering durations for each zone. Confirm these settings align with your desired watering schedule. A common error is accidentally setting the start time for the past!
Rain Delay Status: Verify the Rain Delay function isn’t activated. This feature temporarily suspends all programmed watering schedules. Deactivate Rain Delay to resume normal operation.
Technical Specifications & Compliance
Certifications & Standards: This Orbit timer meets UL-50, ETL, CSA, and CE standards, ensuring safety and performance. It’s also ICES-003 compliant.
UL-50, ETL, CSA & CE Approvals
Safety and Performance Assurance: Your Orbit Water Timer has undergone rigorous testing to meet stringent industry standards. UL-50 listing demonstrates compliance with Underwriters Laboratories safety requirements for electrical components, ensuring safe operation. ETL certification signifies independent testing and verification of product performance and electrical safety.
International Compliance: For customers outside of North America, this timer also carries CSA (Canadian Standards Association) and CE (European Conformity) approvals. These certifications confirm adherence to applicable safety and performance regulations within Canada and the European Union, respectively. This Class B digital apparatus complies with Canadian ICES-003 standards, minimizing electromagnetic interference. These approvals provide peace of mind, guaranteeing a reliable and safe watering experience.
Electrical Specifications – 24 VAC Irrigation Systems
Power Requirements & Compatibility: This Orbit Water Timer is specifically designed for use with 24 VAC (Volts Alternating Current) irrigation systems. It’s crucial to verify your existing irrigation valves are compatible with this voltage before installation. The timer acts as a controller, sending 24 VAC signals to activate and deactivate your sprinkler valves, initiating and stopping the flow of water.
Important Safety Note: The supply cord of this control unit should only be replaced by the manufacturer or a qualified, accredited service agent. Attempting to repair or replace the cord yourself could compromise safety and void the product warranty. This timer is intended for automatic sprinkler activation and is not designed for direct connection to household electrical outlets.
Disconnection Type – Type 1Y Normal Pollution Situation
Understanding Disconnection Classification: The Orbit Water Timer is classified as a Type 1Y disconnection device, indicating its suitability for use in a “normal pollution situation.” This designation, as per relevant safety standards, defines the environmental conditions the timer is designed to withstand during disconnection from the power source.
Practical Implications: A Type 1Y disconnection implies the timer is protected against incidental contact with conductive objects. It’s designed for indoor or sheltered outdoor use where pollution levels are typically low. This classification doesn’t mean the timer is immune to damage from severe weather or deliberate misuse, but it ensures safe disconnection under standard operating conditions. Always disconnect the power source before servicing.

Maintenance & Care
Protect your investment! Regularly clean debris and winterize to prevent freeze damage, ensuring long-lasting, reliable performance from your Orbit Water Timer.

Winterizing the Timer – Preventing Freeze Damage
Protecting against freezing temperatures is crucial for extending the life of your Orbit timer. Before the first frost, disconnect the timer from the faucet. Thoroughly drain all water from the timer housing and connected hoses. Remove the batteries to prevent potential leakage and corrosion during prolonged storage.
Store the timer indoors in a dry location, away from extreme temperatures. Do not leave the timer exposed to the elements over winter. Inspect hoses for cracks or damage before storing them alongside the timer. Proper winterization prevents internal component damage caused by ice expansion, ensuring your timer is ready for use next spring. Failure to winterize may void the warranty.
Cleaning the Timer – Removing Debris
Regular cleaning maintains optimal timer performance. Before cleaning, always disconnect the timer from the faucet and remove the batteries. Use a soft cloth dampened with mild soap and water to wipe down the exterior housing. Avoid abrasive cleaners or solvents, as these can damage the plastic components.
Inspect the water inlet screen for sediment or debris buildup. Carefully remove any obstructions with a soft brush or by gently flushing with water. Ensure the screen is clear to maintain proper water flow. Do not immerse the timer in water during cleaning. Allow the timer to dry completely before reinstalling batteries and reconnecting to the faucet.
Trademark Information – WaterMaster Registered Trademark
Orbit Irrigation Products, Inc. proudly owns the WaterMaster registered trademark. This signifies our commitment to quality and innovation in the field of automatic watering solutions. The WaterMaster designation represents a line of products engineered for dependable performance and user-friendly operation, designed to simplify your lawn and garden care.
Unauthorized use of the WaterMaster trademark is strictly prohibited. Orbit Irrigation Products, Inc. actively protects its intellectual property rights. This trademark assures customers they are purchasing genuine Orbit products backed by our warranty and support. Look for the WaterMaster logo on packaging and the timer itself as a guarantee of authenticity and quality.