John Deere 7000 Planter Manual: A Comprehensive Guide
This comprehensive manual empowers operators and technicians with the knowledge to maximize the performance and longevity of the John Deere 7000 planter‚
serving as a vital resource for successful planting operations and detailed parts diagrams.
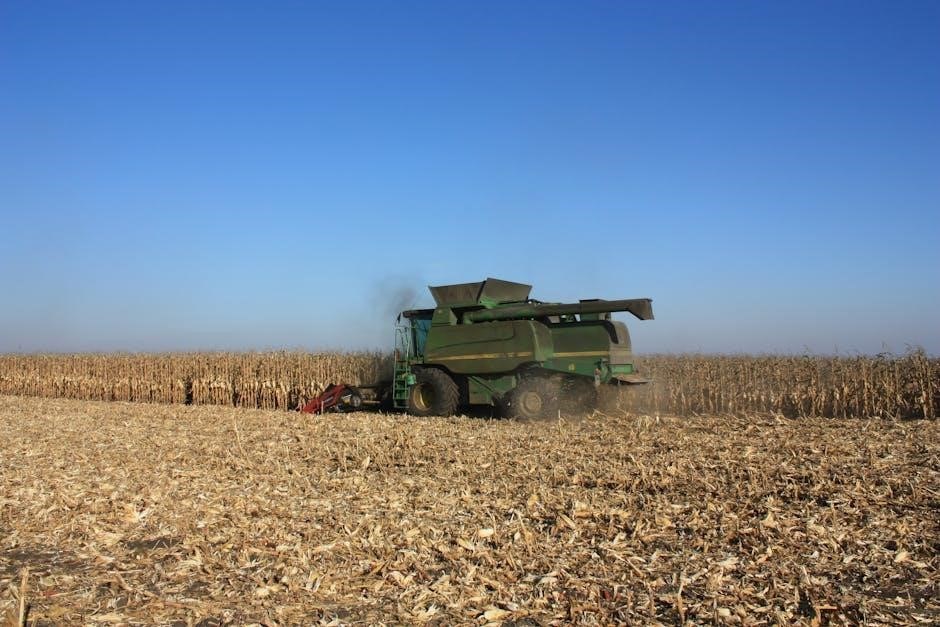
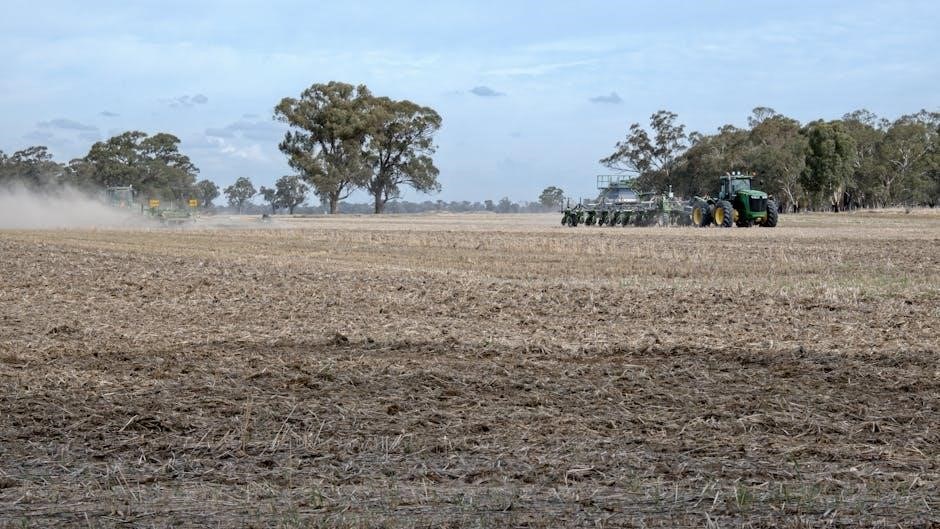
The John Deere 7000 planter represents a significant advancement in agricultural technology‚ designed to deliver precision and efficiency in seed placement.
This manual is crafted as a dedicated partner‚ guiding users through every aspect of operation and maintenance. It’s built for both seasoned professionals and those new to this robust planting system.
Understanding the 7000’s features and functionality is paramount to achieving optimal crop yields. This guide details the planter’s core components‚ from the frame and hopper systems to the intricate seed metering and row unit configurations.
We aim to provide clarity‚ ensuring confident operation and proactive maintenance.
Consider this manual your roadmap to success‚ unlocking the full potential of your John Deere 7000 planter.
Historical Context and Model Variations
The John Deere 7000 planter emerged during a period of rapid innovation in agricultural machinery‚ building upon decades of John Deere’s commitment to precision farming. Introduced in the late 20th century‚ it quickly became a staple for producers seeking reliable and accurate seed placement.
Throughout its production run‚ the 7000 planter saw several key variations‚ adapting to evolving farming practices and crop demands. These included modifications to hopper capacity‚ row unit designs‚ and seed metering technologies. Understanding these differences is crucial for proper parts identification and maintenance. This manual aims to cover the common configurations‚ acknowledging that specific features may vary based on the model year and original equipment specifications. Careful attention to serial numbers will help pinpoint the exact version.
Understanding the Planter Components
This section details the core elements of the John Deere 7000 planter‚ including the frame‚ hopper‚ seed metering system‚ and row units‚ for optimal functionality.
Frame and Hitch System
The John Deere 7000 planter’s robust frame is the foundational element‚ designed for durability and stability during demanding field operations. Constructed from high-strength steel‚ it withstands the stresses of planting across varied terrains.
The hitch system allows for secure and reliable connection to the tractor‚ ensuring proper alignment and consistent draft control; Different hitch options were available‚ including standard pintle hitches and drawbar connections‚ accommodating various tractor configurations.
Regular inspection of the frame for cracks or damage is crucial‚ alongside checking the hitch components for wear and proper fastening. Maintaining the integrity of the frame and hitch system is paramount for safe and efficient planter operation‚ preventing potential failures and ensuring accurate seed placement. Proper lubrication of hitch pivot points is also essential.
Hopper System – Capacity and Types
The John Deere 7000 planter featured versatile hopper systems designed to handle a range of seed types and volumes. Standard hoppers typically offered capacities ranging from 17 to 43 bushels‚ depending on the model and configuration. These hoppers were constructed from durable polymers‚ providing corrosion resistance and minimizing seed damage.
Different hopper types were available to suit specific planting needs. Options included standard seed hoppers‚ fertilizer hoppers‚ and even split hopper configurations for simultaneous seed and fertilizer application. The split hopper design allowed for precise placement of both inputs‚ optimizing nutrient availability.
Regular cleaning of the hopper system is vital to prevent seed bridging and ensure accurate metering. Checking hopper seals and ensuring proper operation of the hopper lift mechanism are also essential maintenance tasks‚ contributing to consistent planting performance.
Seed Metering System – Detailed Overview
The John Deere 7000 planter utilized a mechanical seed metering system renowned for its accuracy and reliability. This system employed fluted feed wheels‚ carefully designed to pick up and deliver individual seeds into the seed tube. The flutes’ size and spacing were customizable‚ allowing operators to tailor the metering system to different seed varieties and sizes.
Proper adjustment of the seed meter is crucial for achieving the desired plant population. Factors like seed type‚ seed size‚ and planting speed all influence the optimal meter setting. Regular inspection of the fluted wheels for wear and damage is essential‚ as worn wheels can lead to inconsistent seed delivery.
Maintaining consistent seed flow requires periodic cleaning of the seed metering unit‚ removing dust and debris that can impede operation. Accurate calibration procedures‚ detailed in the manual‚ are vital for maximizing planting precision.
Row Units – Configuration and Adjustment
The John Deere 7000 planter’s row units are designed for versatility‚ accommodating various row spacings to suit different crops and farming practices. Adjustments to the row units are critical for optimal seed placement and emergence. These adjustments include controlling the planting depth‚ gauge wheel pressure‚ and closing wheel configuration.
Proper planting depth ensures seeds are placed at the ideal level for consistent germination. Gauge wheels maintain consistent seed depth by following the contour of the soil. Closing wheels firm the soil around the seed‚ promoting good seed-to-soil contact.
The manual provides detailed instructions on configuring and adjusting the row units for specific crop types and soil conditions. Regular inspection and maintenance of the row unit components‚ such as bearings and scrapers‚ are essential for smooth operation and accurate seed placement.
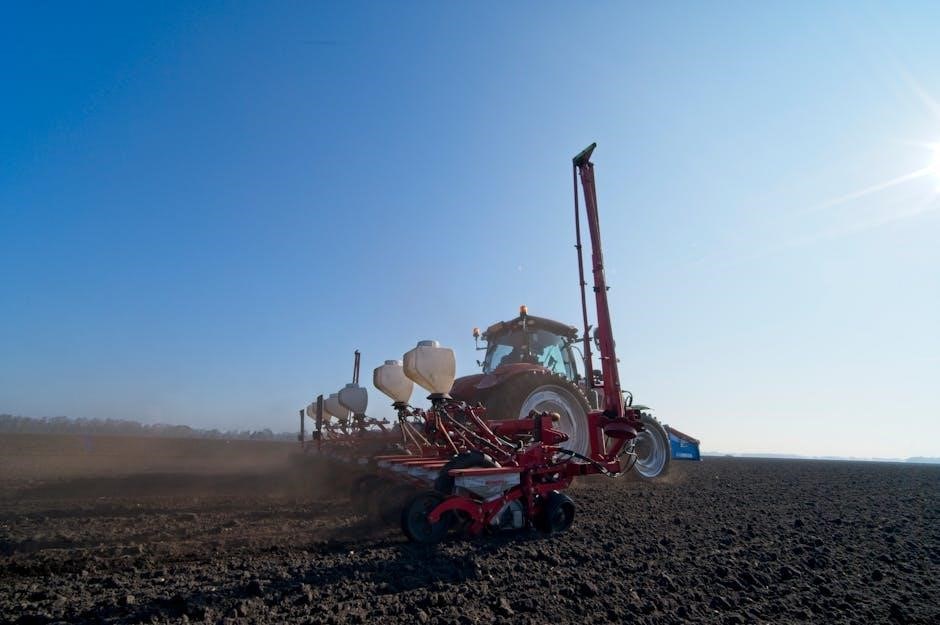
Operation and Setup
Successfully operating the John Deere 7000 planter requires meticulous pre-planting checks‚ precise calibration‚ and understanding specific crop needs for optimal results.
Pre-Planting Checks and Maintenance
Before each planting season‚ and ideally before each use‚ a thorough inspection of the John Deere 7000 planter is crucial for reliable operation. Begin by examining the frame for any cracks or damage‚ ensuring the hitch system is securely connected and properly adjusted.
Next‚ meticulously inspect the hopper system‚ verifying its cleanliness and structural integrity. Check for any obstructions or damage to the seed tubes and row unit components. A critical step involves confirming the proper functioning of the seed metering system – ensuring accurate seed delivery is paramount.
Lubricate all grease fittings according to the lubrication schedule (detailed in a later section). Inspect tires for proper inflation and tread wear. Finally‚ verify the functionality of all safety features‚ including row markers and transport safety devices. Addressing these points proactively minimizes downtime and maximizes planting efficiency.
Calibration Procedures for Seed Population
Achieving accurate seed population is fundamental to maximizing crop yields‚ and proper calibration of the John Deere 7000 planter is essential. Begin by selecting the appropriate seed disc for your crop and desired seeding rate. Fill the hopper with seed and operate the planter at a typical planting speed.
Collect the seed discharged from a designated row unit over a measured distance and time. Calculate the actual seeding rate based on the collected seed and compare it to the desired rate. Adjust the seed metering system – typically through gear changes or adjustments to the seed drop – to fine-tune the population.
Repeat this process several times‚ verifying consistency across all row units. Document your calibration settings for future reference. Accurate calibration ensures optimal plant spacing and contributes significantly to overall crop performance.
Setting Planting Depth and Spacing
Precise control over planting depth and seed spacing is crucial for uniform emergence and optimal crop establishment with the John Deere 7000 planter. Adjust planting depth using the depth control levers located on each row unit; consult the planter’s gauge wheel settings for accurate depth selection based on soil conditions.
Seed spacing is primarily determined by the chosen seed disc and drive system configuration. Ensure proper alignment of the seed disc and firmers to maintain consistent seed placement. Regularly inspect and adjust the closing wheels to provide adequate seed coverage and soil contact.
Verify depth and spacing by periodically excavating planted seeds. Fine-tune adjustments as needed to achieve the desired results‚ considering factors like seed size and soil type.
Operating Instructions for Different Crop Types
The John Deere 7000 planter’s versatility allows for successful planting of a wide range of crops‚ but specific settings are vital. For small seeds like soybeans‚ utilize smaller seed discs and lower planting speeds to ensure accurate singulation and placement. Corn requires larger seed discs‚ higher planting speeds‚ and potentially vacuum pressure for consistent seed delivery.
When planting cotton‚ adjust the seed firmer pressure to prevent seed damage and ensure proper seed-to-soil contact. For larger seeds like pumpkins‚ consider using optional equipment and adjusting row spacing accordingly.
Always consult seed-specific recommendations and adjust planter settings to optimize germination and yield potential for each crop type.
Maintenance and Troubleshooting
Regular maintenance and swift troubleshooting are crucial for the John Deere 7000 planter’s reliable operation‚ ensuring optimal performance and minimizing downtime during critical planting seasons.
Daily Maintenance Procedures
Establishing a consistent daily maintenance routine is paramount for the John Deere 7000 planter’s longevity and peak performance. Begin each day with a thorough visual inspection‚ checking for loose fasteners‚ worn components‚ and any signs of damage across the frame‚ hopper‚ and row units.
Prioritize lubrication of all grease fittings‚ utilizing the recommended grease type specified in the lubrication guide. Inspect tire pressures and adjust as needed to ensure proper ground contact and consistent planting depth. Clean seed buildup from the metering system and row unit components to maintain accurate seed delivery.
Verify proper operation of safety features‚ including shields and warning devices. Finally‚ a quick check of hydraulic fluid levels and hose conditions will prevent potential issues during operation. Documenting these daily checks contributes to a proactive maintenance approach.
Lubrication Guide – Points and Schedules
Maintaining proper lubrication is critical for minimizing wear and ensuring smooth operation of the John Deere 7000 planter. Key lubrication points include all bearings on the axle‚ row unit pivots‚ seed metering drive components‚ and the planter’s hitch. Utilize a high-quality‚ multi-purpose lithium-based grease‚ as specified by John Deere.
Daily: Grease all row unit pivots and metering drive bearings before each planting session. Weekly: Lubricate axle bearings and hitch points. Every 50 hours of operation: Thoroughly grease all remaining lubrication points‚ including any gearboxes or chains.
Annually: Inspect and repack wheel bearings with fresh grease. Refer to the detailed parts catalog for specific grease fitting locations. Consistent adherence to this schedule will significantly extend component life and reduce downtime.
Troubleshooting Common Planting Issues
Addressing planting issues promptly minimizes yield loss. Common problems include inconsistent seed spacing‚ poor seed emergence‚ and row unit issues. Inconsistent spacing often stems from a worn seed metering system – inspect discs and brushes. Poor emergence can indicate incorrect planting depth or soil compaction; adjust row unit downforce and depth settings.
Row unit problems‚ like plugging‚ may require clearing debris and checking for worn scraper blades. Check hydraulic pressure if row units aren’t consistently lifting or lowering. Always verify seed quality before planting‚ as old or damaged seed can hinder germination.
Refer to the diagnostic charts in the full manual for detailed troubleshooting steps and potential solutions. Regular inspection and preventative maintenance are key to avoiding these issues.
Hydraulic System Maintenance
Maintaining the hydraulic system is crucial for reliable planter operation. Regularly inspect hydraulic hoses‚ fittings‚ and cylinders for leaks or damage; replace worn components immediately. Check hydraulic fluid levels frequently and use the recommended John Deere Hy-Gard fluid. Filter replacement is vital – follow the schedule outlined in the maintenance section‚ typically every 250-500 hours of operation.
Inspect the hydraulic pump for unusual noises or pressure fluctuations. Bleed the hydraulic system if air has entered the lines‚ which can cause erratic row unit behavior. Properly lubricate all pivot points and connections to prevent wear and ensure smooth operation.
Consult the detailed diagrams in the parts section for component locations and specifications.
Parts and Diagrams
Accessing detailed exploded view diagrams and identifying key replacement parts is simplified within this section‚ ensuring efficient repairs and compatibility checks for your planter.
Accessing Exploded View Diagrams
Locating the correct exploded view diagrams for your John Deere 7000 planter is crucial for understanding component relationships and facilitating accurate repairs. These diagrams visually break down the planter into individual parts‚ showcasing how everything fits together. Typically‚ you can access these diagrams through the official John Deere website‚ utilizing the planter’s serial number to pinpoint the exact configuration.
Alternatively‚ authorized John Deere dealerships provide access to these resources‚ often in printed or digital formats. Online parts catalogs also frequently incorporate exploded views‚ allowing for easy identification of components. When navigating these diagrams‚ pay close attention to revision levels and date codes to ensure you’re referencing the most up-to-date information. Understanding the diagram’s key and symbols is also essential for proper interpretation and successful component identification;
Identifying Key Replacement Parts
Successfully maintaining your John Deere 7000 planter relies on quickly and accurately identifying the necessary replacement parts. Common wear items include seed tubes‚ closing wheels‚ gauge wheels‚ and various bearings. Utilizing the exploded view diagrams (referenced previously) is the first step‚ allowing you to visually locate the required component.
Cross-referencing the part number from the diagram with a John Deere parts catalog – either online or through a dealership – confirms the correct replacement. Pay attention to any supersessions or updates indicated in the catalog‚ as parts may have been revised over time. When ordering‚ always verify compatibility with your planter’s specific serial number. Accurate identification prevents delays and ensures the correct part is installed‚ maximizing uptime and planting efficiency.
Understanding Part Numbers and Compatibility
John Deere part numbers are crucial for ensuring correct component replacement on your 7000 planter. These alphanumeric codes uniquely identify each part‚ facilitating accurate ordering and preventing incorrect installations. Compatibility isn’t always universal; a part number valid for one serial number range might be superseded by a newer version for later models.
Always consult the official John Deere parts catalog or a qualified dealer to verify compatibility with your planter’s specific serial number. Supersessions are clearly indicated‚ showing which parts replace older ones. Ignoring this can lead to fitment issues or functional problems. Understanding these nuances minimizes downtime and ensures optimal planter performance. Proper part number verification is a cornerstone of effective maintenance.

Safety Precautions
Prioritize safety during operation and maintenance. Always disconnect the planter from power before servicing‚ and wear appropriate protective gear to prevent injuries.
General Safety Guidelines
Always read and understand the entire operator’s manual before operating or performing maintenance on the John Deere 7000 planter. Familiarize yourself with all controls and safety features. Ensure all shields and guards are securely in place before starting the machine. Never allow untrained personnel to operate the planter.
Exercise extreme caution around moving parts. Keep hands‚ feet‚ and clothing away from chains‚ belts‚ and rotating components. Before performing any maintenance‚ lower the planter to the ground and engage the parking brake. Disconnect the hydraulic lines to relieve pressure.
Be aware of your surroundings. Watch for obstacles‚ bystanders‚ and uneven terrain. Never operate the planter under the influence of drugs or alcohol. Always wear appropriate personal protective equipment‚ including safety glasses‚ gloves‚ and sturdy footwear. Regularly inspect the planter for worn or damaged parts and replace them immediately.
Safety Features of the John Deere 7000
The John Deere 7000 planter incorporates several key safety features designed to protect the operator and bystanders. These include robust guarding around all moving parts‚ minimizing the risk of contact with chains‚ belts‚ and rotating components. A clearly labeled emergency stop switch allows for immediate shutdown in critical situations.
The hydraulic system is equipped with pressure relief valves to prevent over-pressurization and potential hose failures. The planter’s frame is designed for stability‚ reducing the risk of rollovers on uneven terrain. Warning decals are strategically placed to alert operators to potential hazards.
Properly functioning lights and reflectors enhance visibility during operation‚ particularly in low-light conditions. Regular inspection and maintenance of these safety features are crucial for ensuring continued protection. Always verify the functionality of all safety systems before each use.